The world has gone tubeless, which can be a hassle for older rims… or maybe not…
Words and Pics: Tim Britton
When talk turns to tyres the discussion can often get heated – what one rider swears by another may swear at – and it is even more complicated when tubed or tubeless is chucked into the mix. For classic and twinshock riders, certainly in the trials world, remaining on tubed tyres is limited to IRC really.
One of the problems is that a tubeless tyre doesn’t always stay on a tubeless rim, there being a slight difference in the tyre well which prevents it seating properly. However there are those who use tubeless tyres quite happily on a tubed rim – including one recent winner of the Pre-65 Scottish – and claim no problems.
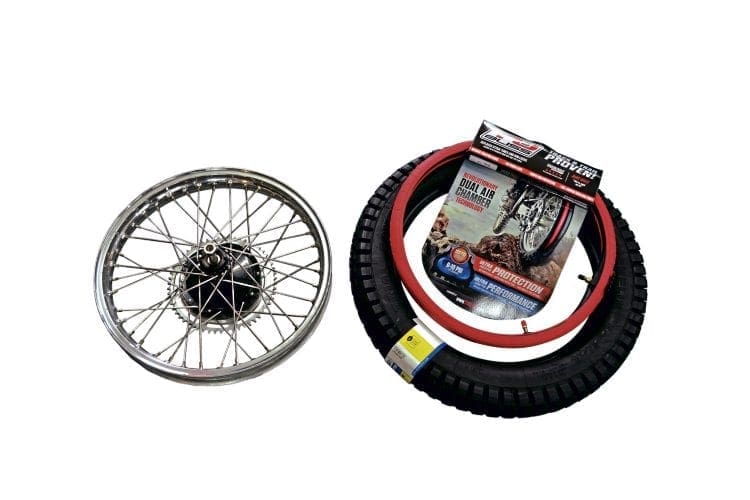
The easy answer is to change rims to tubeless type and the problem goes away. Okay it’s replaced by another problem – which tyre to choose.
Mind you that can become expensive if you’ve several bikes to deal with and it also means any originality is lost.
Originality doesn’t always matter in the competition world but it is nice to keep a bike looking correct if you can.
One option is to fill the rim with loads of security bolts but that can add a load of weight as well as make balancing the wheel an interesting challenge.
There is another option, the TUBliss system and CDB got hold of one to try it out – Michelin also kindly supplied a tubeless X11.
The concept of the system is quite simple and is effectively a two-chamber idea with the well where the rim tape would be, filled with a small diameter tube at extremely high pressure which holds the tyre bead against the rim and could be regarded as a 360 degree rim lock.
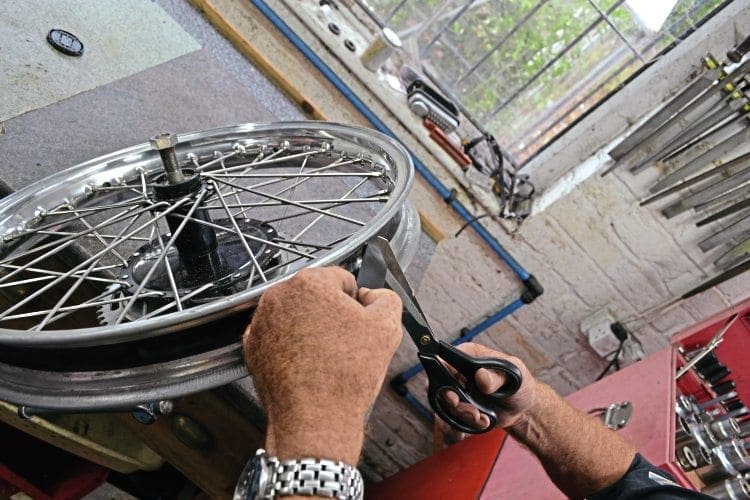
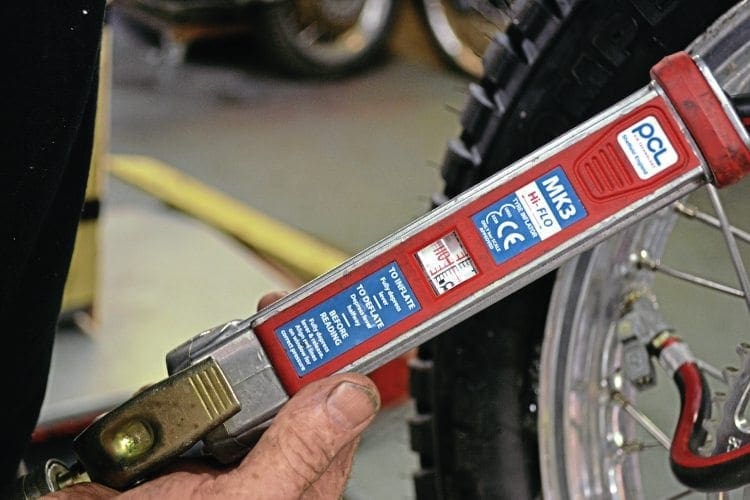
Once that is in place then the tyre can be filled with air to whatever pressure is required within the recommended 0-10psi range.
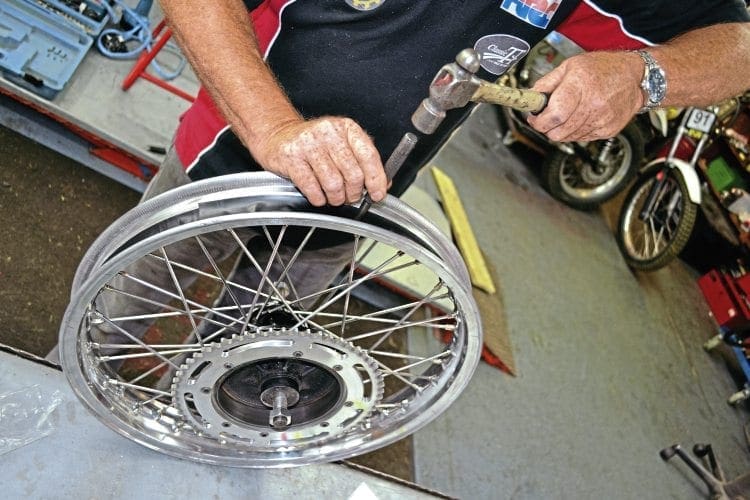
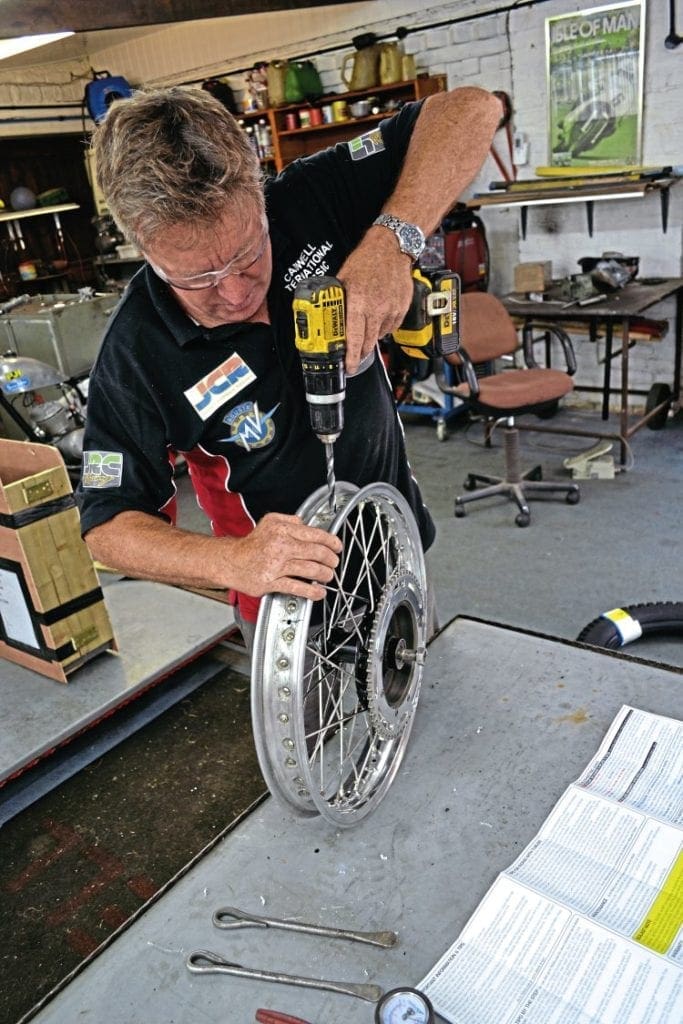
A special security bolt or rim lock, depending on where you live, is supplied with the system and this prevents the tube from moving around.
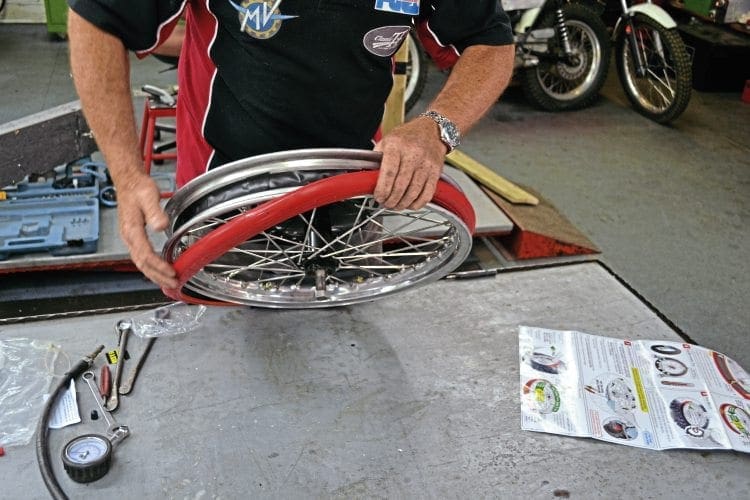
Fitting the TUBliss system is a little different to the way a normal tyre and tube would be fitted and the company supply detailed instructions to aid fitting but if you can fit ordinary tyres you shouldn’t have any difficulty fitting this system.
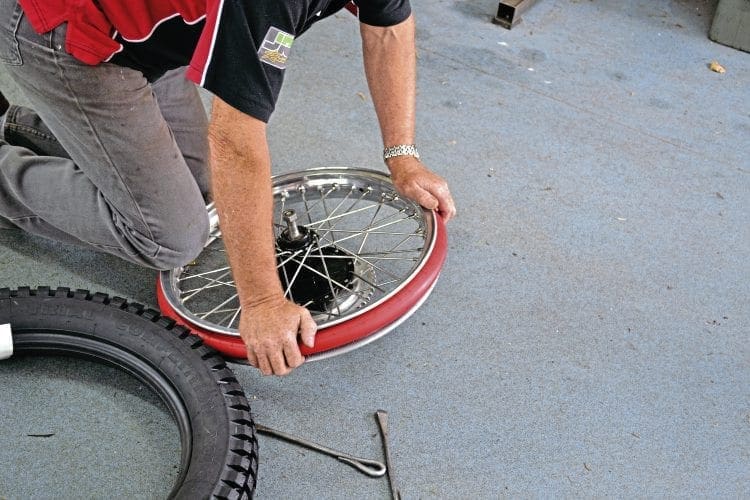
As you can see we’ve fitted this to a trials bike, but the blurb with the kit and the website all show MX or enduro machines with the TUBliss system in place.
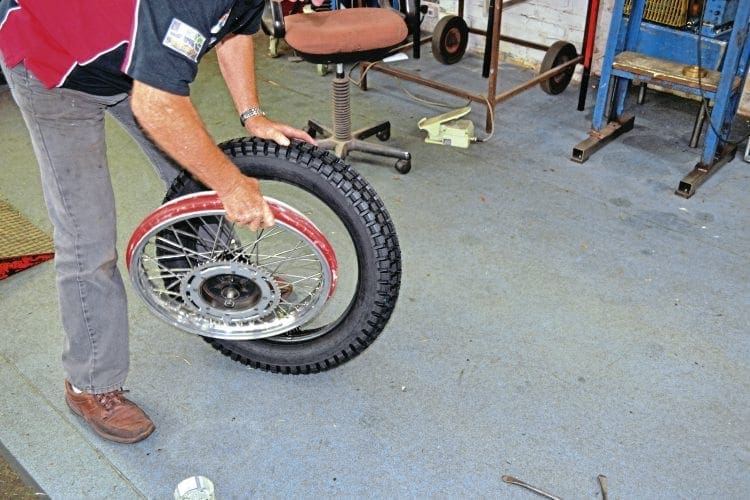
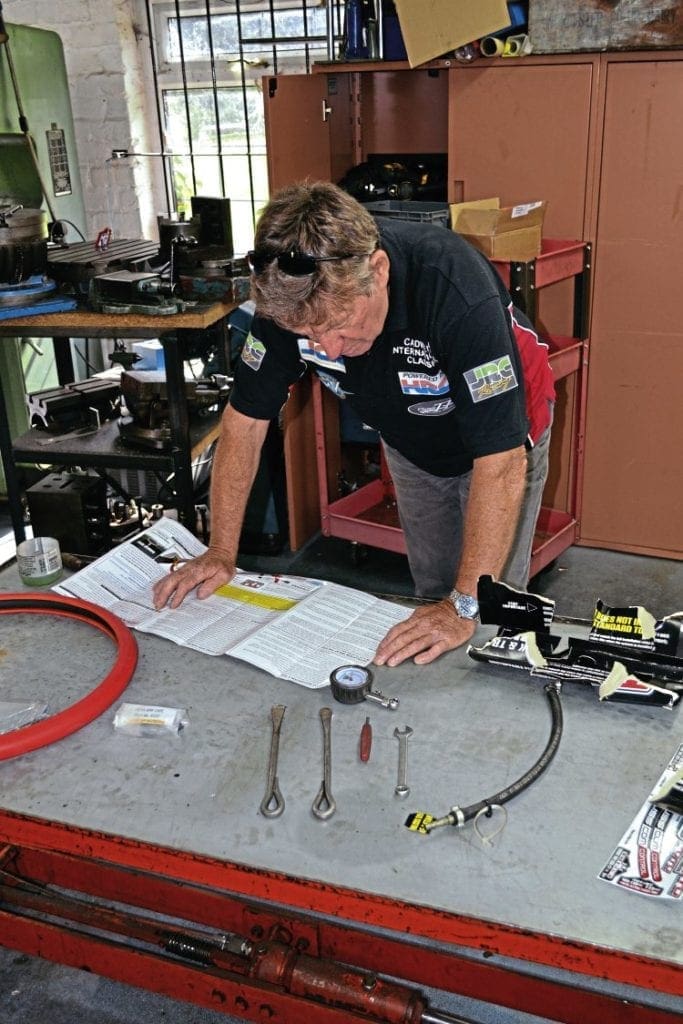
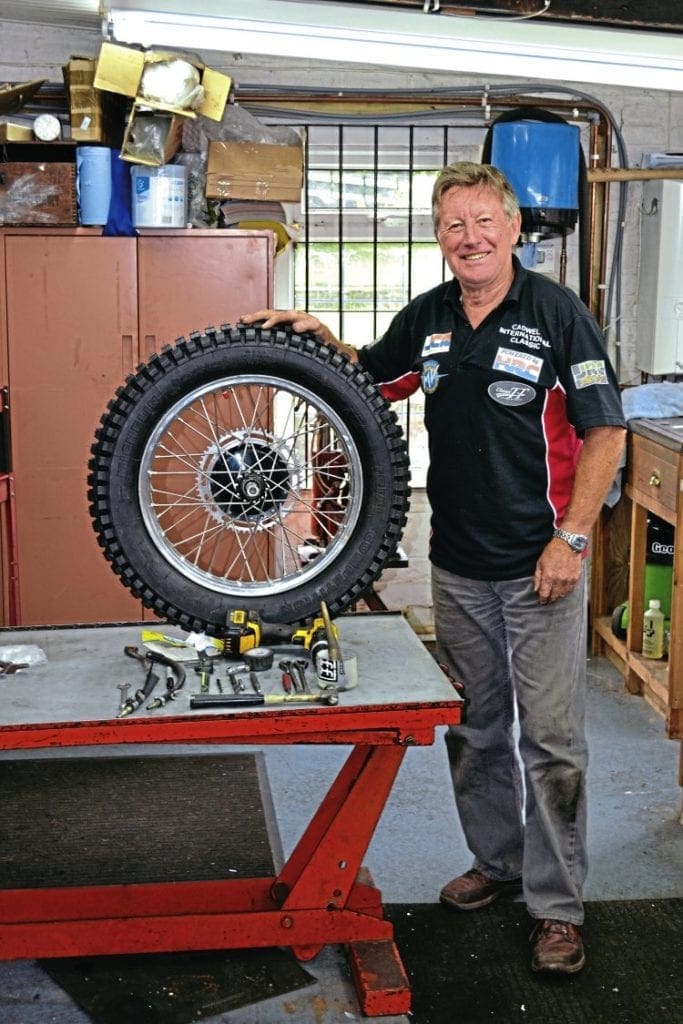
Our thanks go to Mick Grant for actually doing the job…
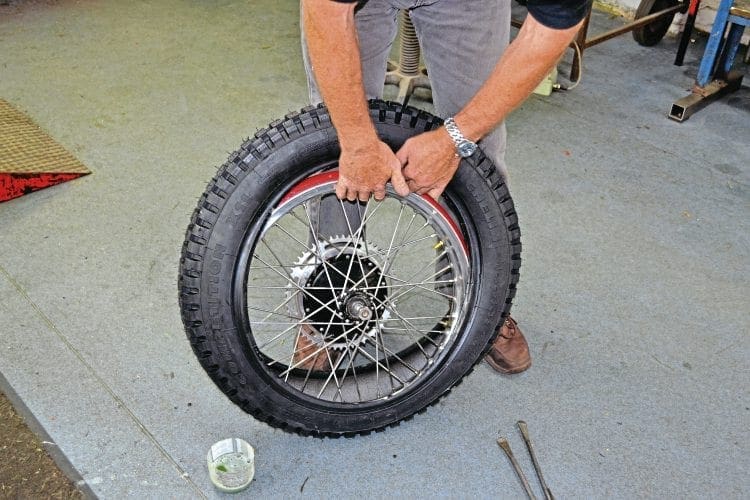
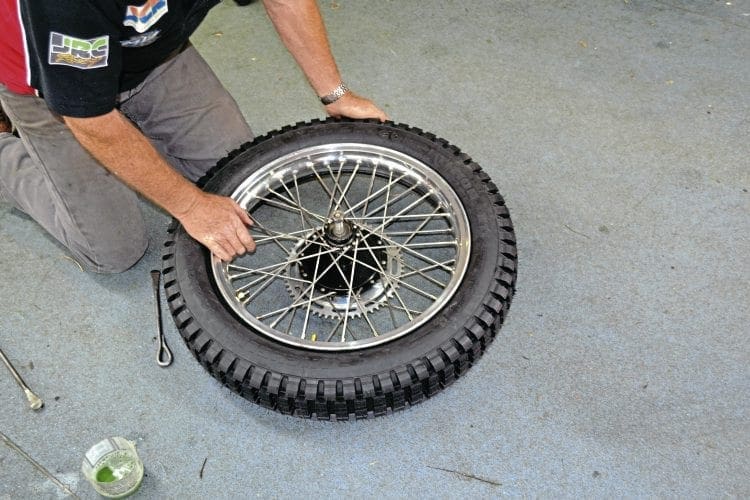
Why do it?
It is relatively easy to change rims from tube type to tubeless type, all it takes is money and then any number of tubeless options are available in tyres.
But what if the rims on the bike are okay or you want to keep them for aesthetic reasons but still have tyre choice? Well this could be an option for you.
Difficulty 3/5
Resources
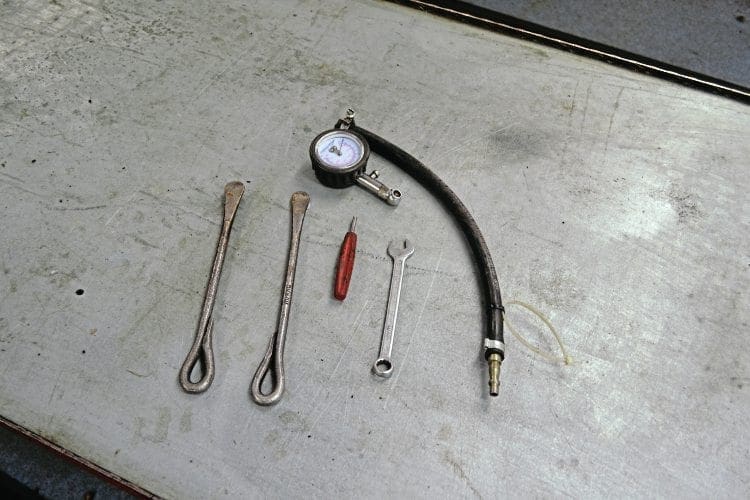
A bike stand so the rear wheel can be removed, tools to suit your rear wheel removal needs, tyre levers, soapy water, a compressor to push 100psi into a tube.
Supplier
TUBliss
Contact them through nuetech.com where there are details of suppliers worldwide.michelin tyres
See your local dealer.
Read more News and Features in the Winter 2019 issue of Classic Dirt Bike – on sale now!


