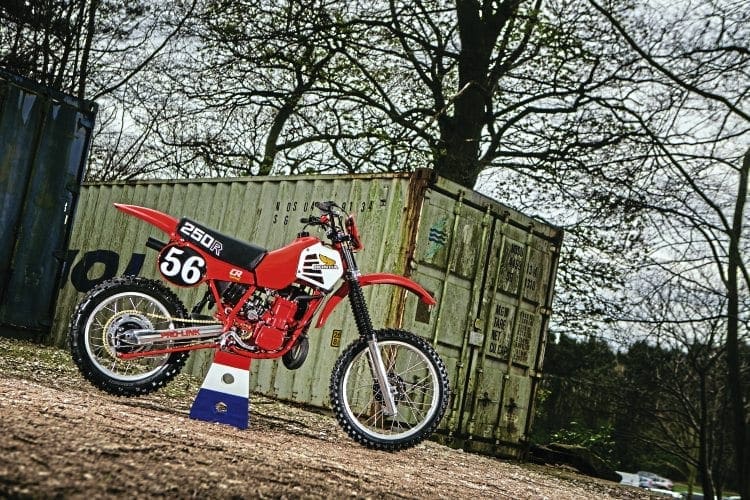
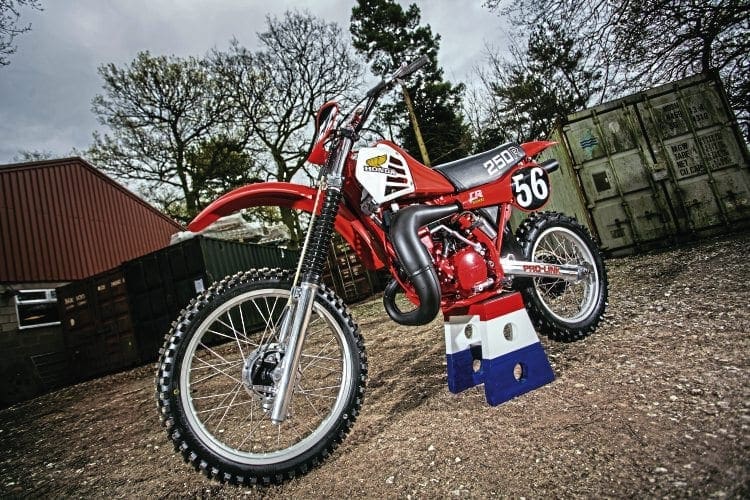
When Honda debuted the 1981 CR250 they launched many firsts – liquid cooling, Pro-Link suspension – but it was the last to have the Elsinore designation.
Words: Tim Britton Pics: Gary Chapman
Cast your mind back to the MX world of the Seventies and early Eighties when development seemed to happen at a phenomenal pace; each factory strove to outdo the other with this tweak and that mod, then next week it was all change again.
It really was a frantic pace forced on the world by the Japanese makers who had gone from not really understanding the off-road world to virtually dominating it.
All areas of the machine were scrutinised minutely to see what could be improved on, what needed altering and what should be dropped.
Take the world championship-winning Honda we featured last issue – air-cooled and twinshock.
Top of the world… but by January 1981 The Motor Cycle had a brand new Honda on the front cover and what a bike!
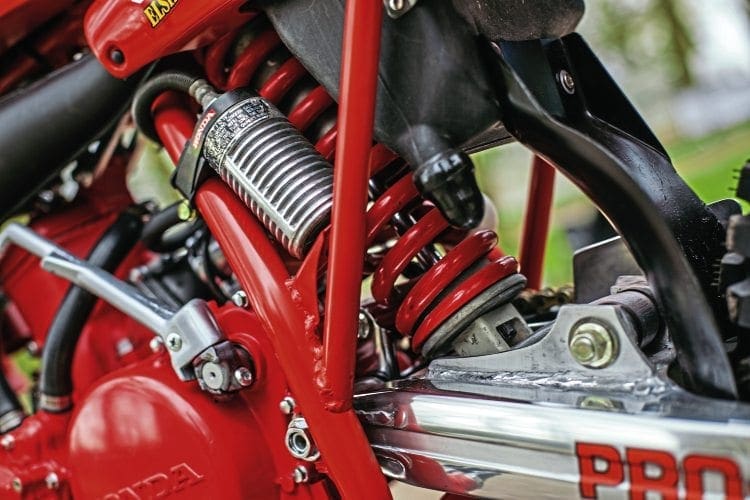
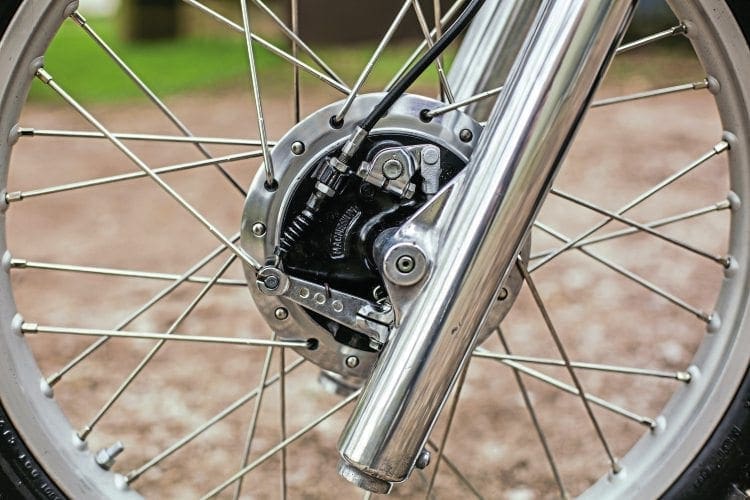
Red with a hint of black and white, gone were two rear dampers, in came Pro-Link… gone were the massive fins of the air-cooled engine, in their place a water jacket for cooling and sustained performance though the wheels still had drum brakes as discs were a year or two away.
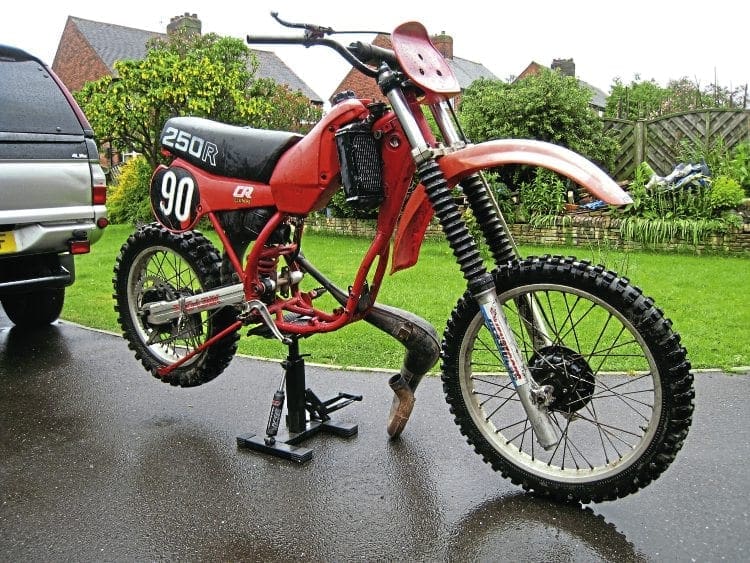
Anyway, the visually stunning Honda CR250R Elsinore certainly made an impact on the world, unfortunately it wasn’t the best bike Honda ever made, something Steve Parkins, the owner and restorer of this particular one, admitted to me as we chatted in The Classic Dirt Bike Experience where his bike had just been voted Best MX Machine by the concours judges.
Talking about his machine Steve said: “It was a big change from the previous models and it was good but just not quite right.
“The next model along was way better than this one but, I suppose there has to be a starting point and this last Elsinore laid the groundwork for the 1982 version which shoved Honda to the front again.”
This was backed up by Phil Denton – Honda specialist and restorer of MX bikes – who added some technical background to Steve’s statement saying: “It wasn’t a terrible bike, actually quite fast and reliable as well as competitive for the time.”
In their report on the new model The Motor Cycle waxed lyrical on the advanced features brought in and in particular the reed valve design.
Just in case you don’t know, the purpose of the reed valve is to prevent the fresh fuel mixture being blown back through the carburettor when the two-stroke piston travels down the bore.
There is a point just before the piston closes the induction port where pressure can force the fuel away from the combustion chamber, the reed valve closes and prevents this – yes, it’s a little more involved but there are manuals with all this described in detail.
The petals in a reed valve have to change direction every time the engine turns over, which on an engine such as the CR250 at 8000rpm is 16,000 times a minute. Honda reputedly studied insect wings and replicated the pattern on them in steel.
Honda also bucked the trend with bore and stroke dimensions which at that time were becoming over-square and they used a 66mm bore with a 72mm stroke.
Special mention was aimed at the Pro-Link suspension and it was rated very highly though the writer did wonder how the bushes and linkage bearings would hold up.
As Phil Denton states the suspension bearings and bushes are scarce so perhaps they were changed frequently.
There are a number of reasons for restoring a particular bike and often it’s because there is some connection to the marque or model in the past so I wanted to know, did Steve race a watercooler?
“No, never and I’d not really thought about restoring one either until I saw the rolling chassis of this bike outside a cash converter sort of place.
“I’d got back into competing through a work colleague, Harry Stanistreet, and had bought a BSA B50 to do the 2010 Red Marley Hill Climb but fancied a Honda CR250 of some sort… so I went back to the shop and bought the chassis,” said Steve.
Though described as a rolling chassis that description belies the actual truth as often such chassis are a frame with forks and wheels but this was a complete bike, less engine.
“It was incredible, every bit was there and it wasn’t all that hard used, the engine had likely been removed and used in a kart but everything else was in place.”
This is just as well as the bike is effectively a ‘for one year only’ model and has several bits which are probably unobtainable these days.
“The front numberplate is probably the rarest bit as I’ve never seen one advertised for sale at all and when you speak to people it’s ‘have you a spare one?’ but I’m glad all the rest of the bits were there too.”
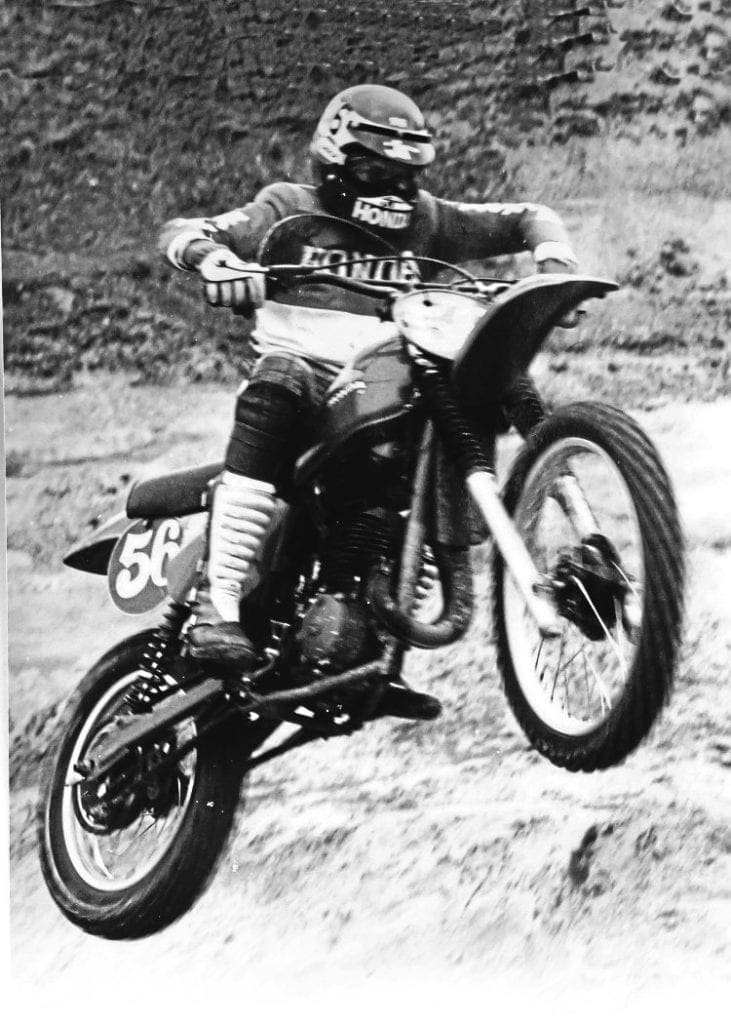
With the chassis in the garage Steve resisted all temptation to pull it apart until an engine could be found.
“I didn’t want to start doing things to it just in case I couldn’t find an engine. This was the most worrying bit of the whole rebuild and I almost came to the point where I was going to have to buy all the bits separately.”
Now, that’s not a great way to acquire an engine as unless you’re an absolute expert on it how do you know what’s missing and what’s not?

“I got as far as being tempted to bid on a bottom end on an internet auction site then saw this one on the same site,” Steve says. The main problem is the engine was used for only one year, it’s an aluminium one and later engines are magnesium which rots.
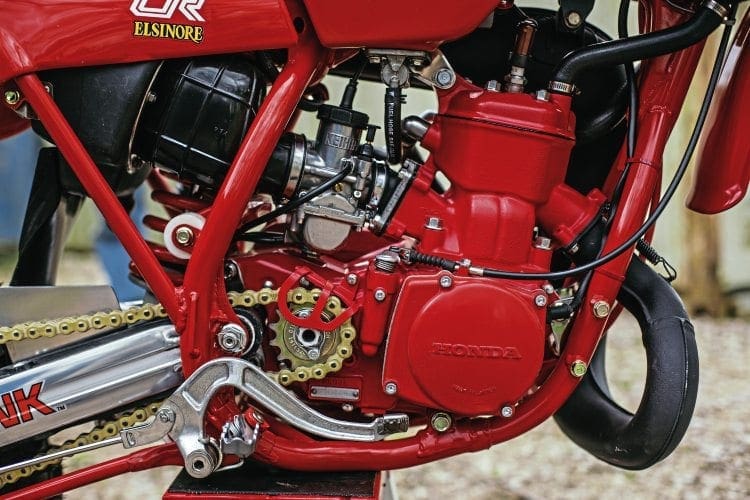
“Even better, when the engine arrived it had all the hoses and fittings, ignition and carburettor attached, it could almost be the exact engine for the frame, it isn’t but it is right for the year and when I dropped it in the frame and connected everything up to see what was missing there wasn’t anything to search for.”
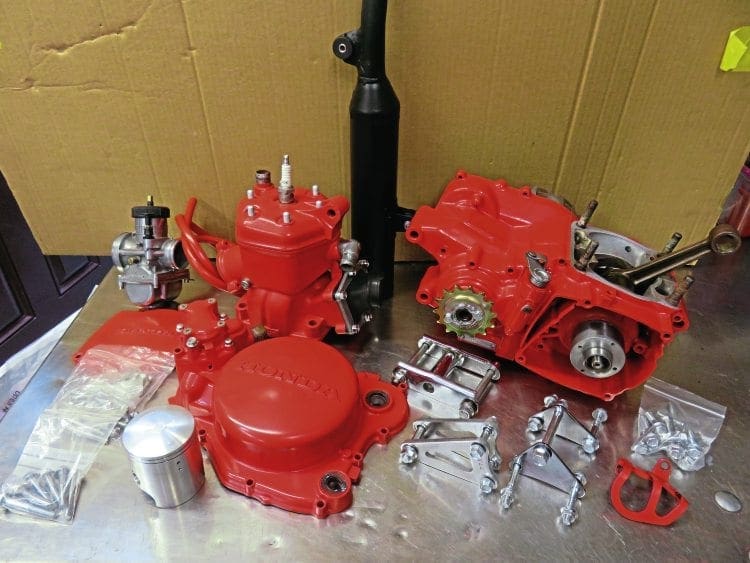
Even better for a restorer’s point of view the engine was in generally good condition with Steve deciding only to strip it as far as the crank seals to replace them.
“On the bottom end all I really had to do was check things over and reassemble it, the piston was cracked on the skirt, it’s a common problem but Phil Denton sorted that out with a new one and rebored the barrel for me.
“It was the same with the water pump, clutch and ignition too, just strip to check, clean and reassemble.”
By now I was actually a little tight-lipped and said so to Steve, as I suspect many reading this will have had engines with disaster after disaster revealed as the strip-down progresses.
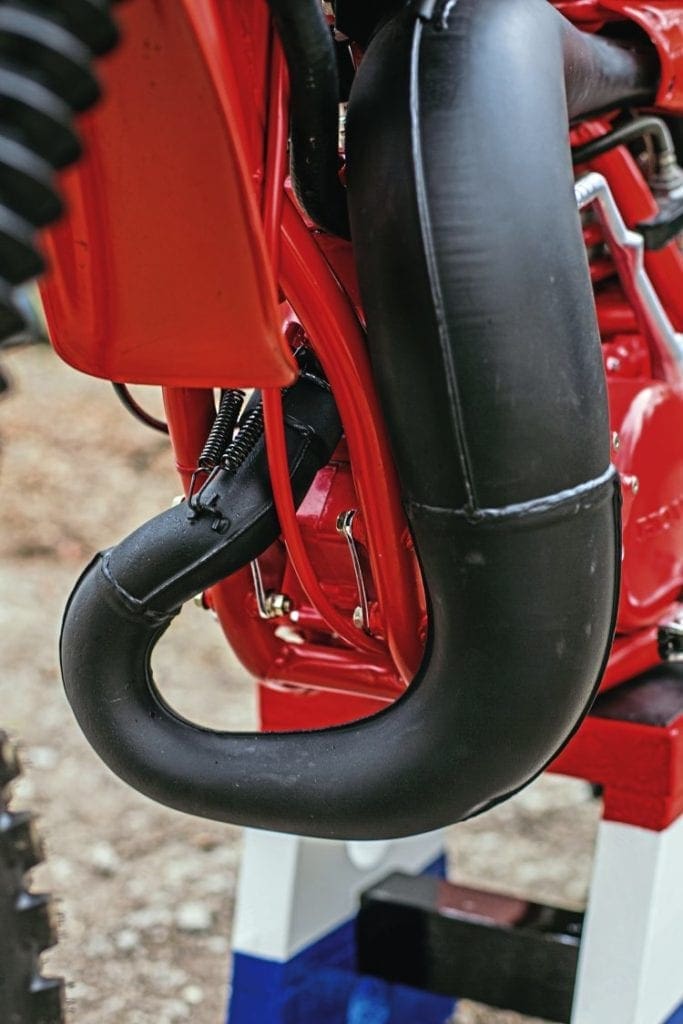
“What can I say, this one was okay,” he grins. The nice red colour on the cases was applied by Steve and is laid over the original Honda paint.
“I didn’t think it was worth trying to remove what Honda had put on as it’s reckoned to be a great finish. There were bits where some rubbing had occurred and all I did was spray on some etch primer then got an aerosol made up to the correct shade of red and sprayed it on the castings, looks good,” he says. It does indeed.
Finishing off the engine needed several parts plated and it took Steve a while to figure out what should be plated silver and what gold passivated.
“Essentially all the frame fasteners are gold and the engine ones are silver,” he tells me, adding “the kickstart is satin chrome.”
Oddest bit is the gear lever, a polished alloy item, the tip is spring loaded or at least that’s what I thought but it actually has a rubber band inside.

“Thankfully the band is okay as it doesn’t look as though the lever can be stripped.”
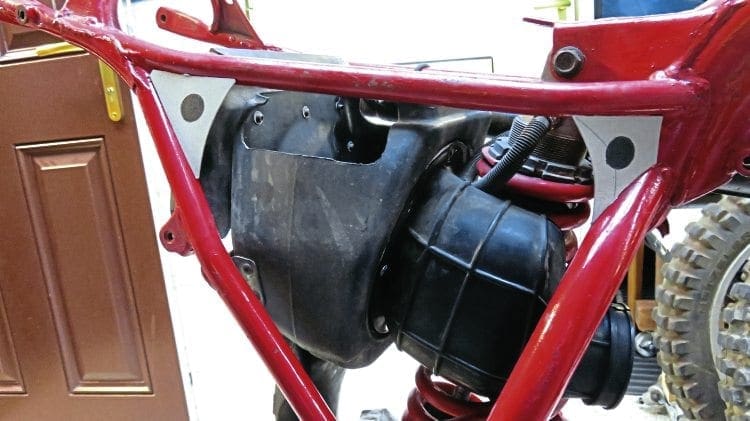
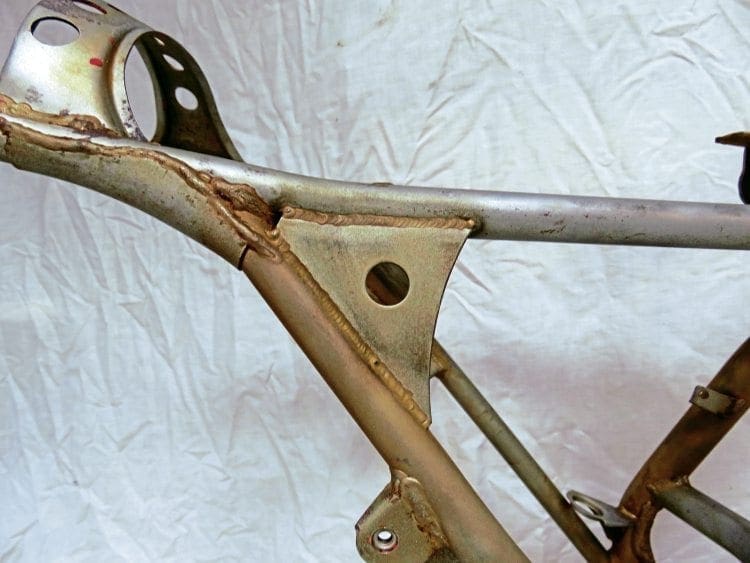
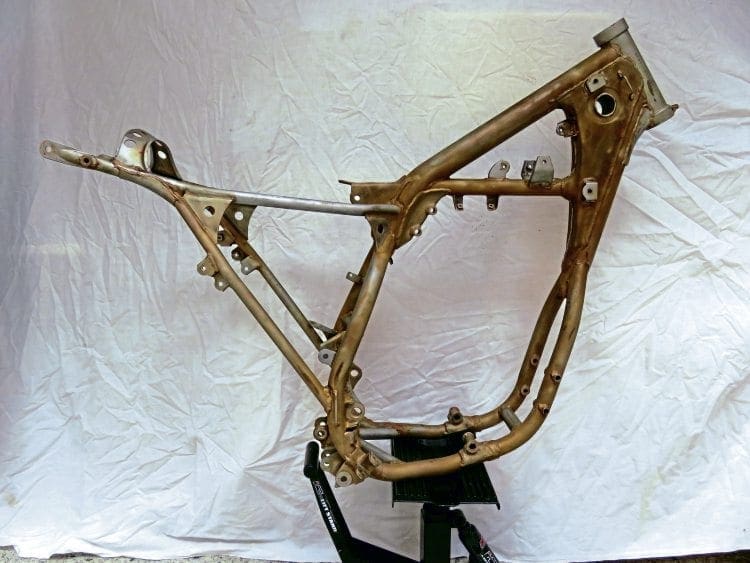
Once the engine was done and out of the way, Steve took to the chassis and decided before stripping it, he would make up gussets to avoid the cracking these frames were noted for in their era.
“It wasn’t a hard job to make cardboard patterns, have them cut out of thin steel and welded into place. Honda obviously knew there was a problem with the frames as later models have the sub-frame bolted on but these gussets will ensure the frame doesn’t crack.”
From the outset Steve was determined to reuse as many of the original parts as he possibly could in this build and he’s achieved that through careful work and thinking about things before ripping into it and blasting everything then powder coating it.
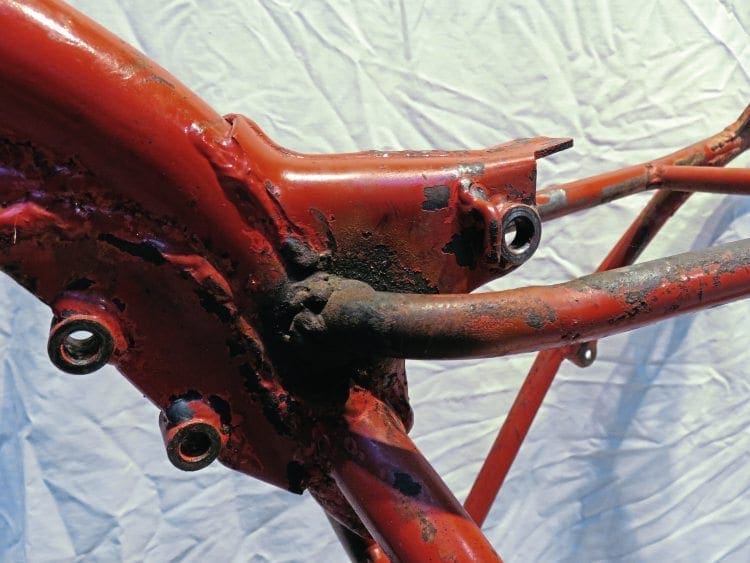
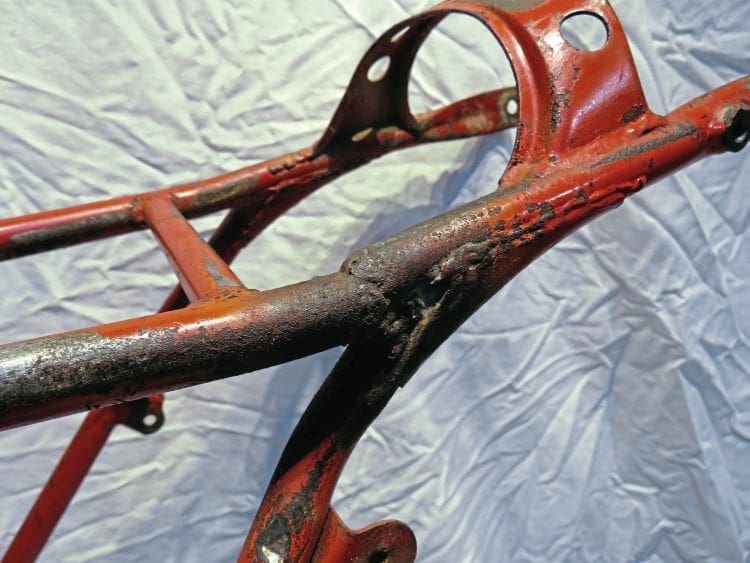
Somethings had to be redone, such as the frame for instance, as the welding had burned away a lot of paint.
“I blasted that myself using a blaster made from a power washer,” says Mr Parkins, “but there was a surprising amount of reusable things for such an old Japanese competition bike.
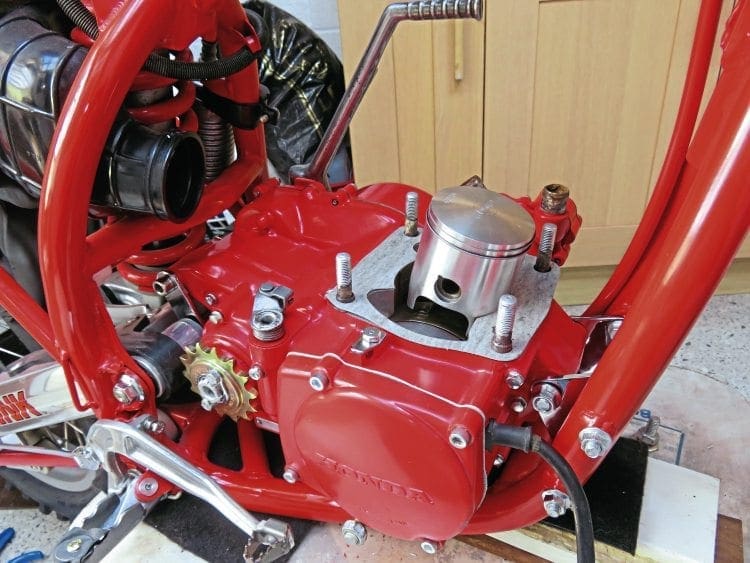
“Like you’ve just done with your IT465 I cleaned all the alloy components such as the fork sliders and swinging arm with a buffing mop, Honda seem to coat such things with a clear finish which is fine until it is damaged then it looks awful. I’ve just left it bare.”
As I looked over his bike it was difficult to distinguish what was original finish, what was new and what was freshened up.
I feel it’s the mark of a good restoration when all the elements blend in together so rather than try to figure it out I simply asked about components and let Steve tell me their tale.
With the frame sorted, swinging arm and forks back in place I wanted to know about the wheels.
“The rims are original ones, just cleaned up, there are new bearings in the hubs, the front one is original Honda while the back one is freshened up with acrylic black. It was okay,” says Steve, “and I was going to leave it then I looked at it and thought if I did I’d always be drawn to it so flashed it over with a coat of black.
The brake plates though are the original factory finish but carry new shoes as the bonding can delaminate and the linings come off.”
Hmmm yes, had that happen to me, luckily they didn’t lock. Steve also fitted Bridgestone tyres as would have been supplied originally.
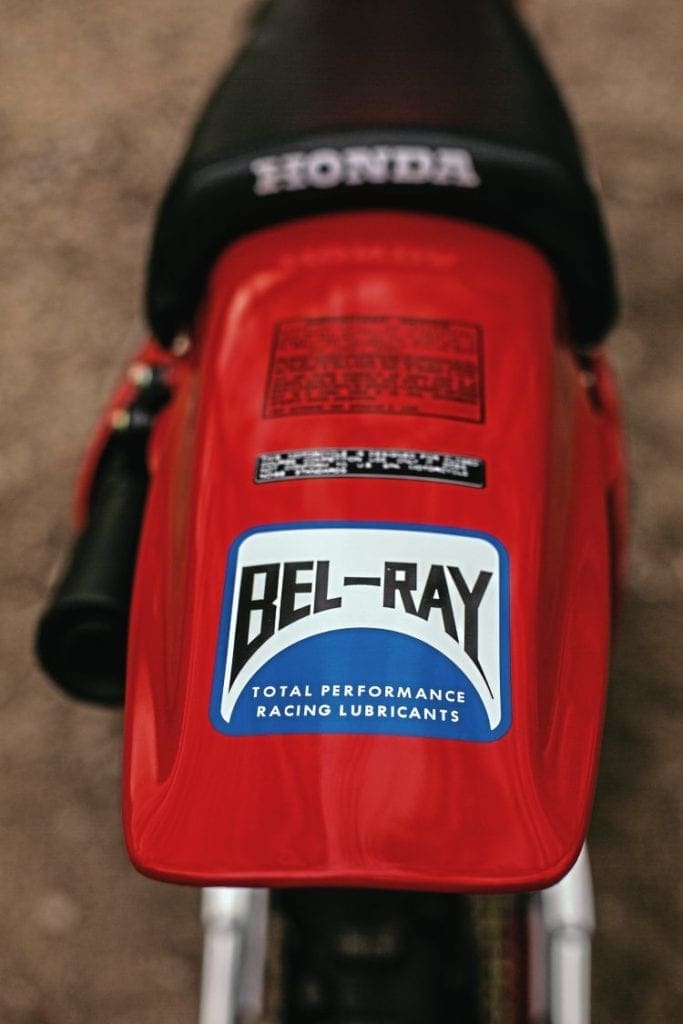
“The rear guard is the original one I think but the front one isn’t, it is a Honda one but just not from this model but it looks right, the side panels too are original and painted with my old racing number from years ago,” continued Steve.
As he spoke about the rebuild of this bike it was clear it had been an enjoyable process and it was something I mentioned to him.

“It was a joy to build, I don’t know if that’s because everything was there and I didn’t have to source any spares, or because it really was easy to build but there didn’t seem to be any hassles at all.”
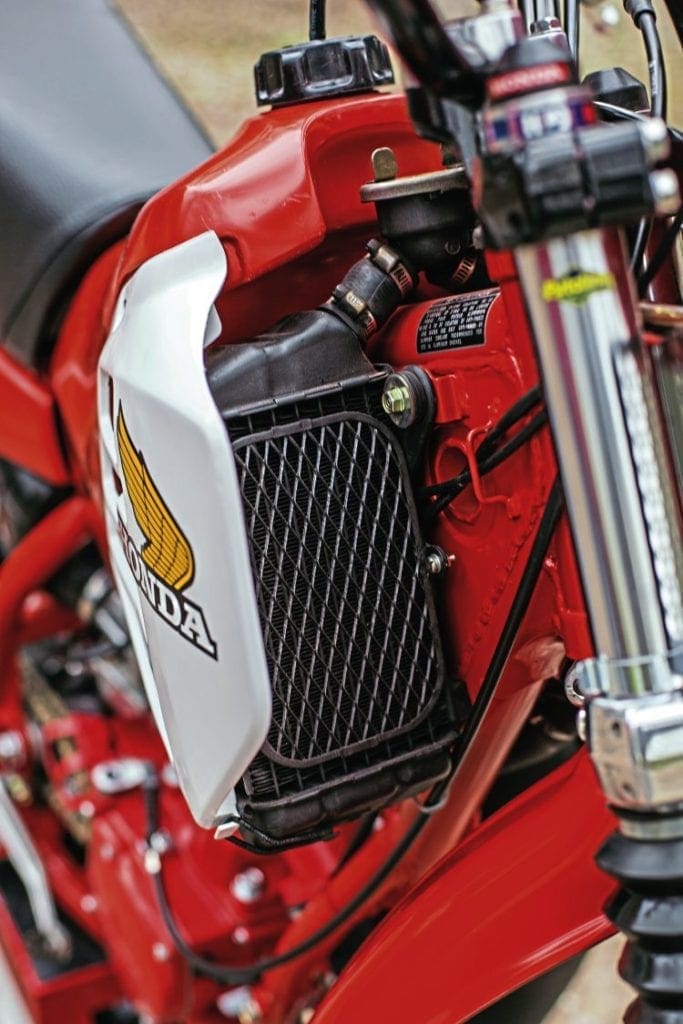
Not even the petrol tank? “No not even the tank, I felt sure the radiators would be leaking so I filled them with hot water and left them for a while, not a drip,” he smiles.
“Honda were the first to fit the radiators to what is now the conventional place on the tank, Yamaha tried them on the forks!”
Steve explains the dual radiator sequence to me by saying the hot water is pumped up into the left-hand radiator – viewed from on the bike – across into the right-hand one and then the cooled liquid goes back to the engine at the exhaust port.
So Steve, is the bike perfect? “Not exactly, there is a lid to the airbox which is missing, I don’t even know what it looks like or I’d make one, the benefits of working in plastic,” another grin.
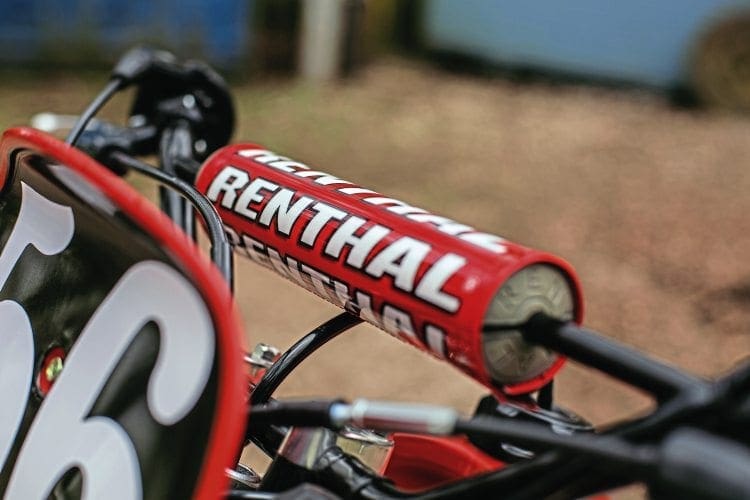
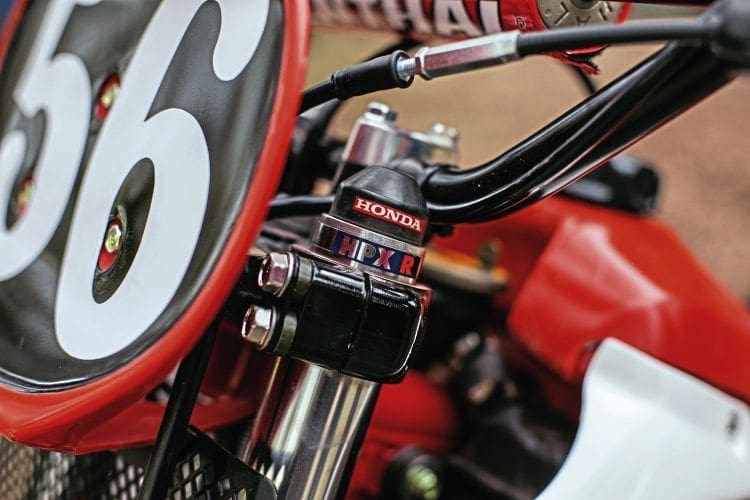
Finishing off the restoration, the handlebars are original but the levers and controls are new, the tank was buffed up at home and noting my surprise at being able to buff up a plastic tank he said “use a buffing mop dry, no soap, but be careful of the heat created as there’s a fine point between it being okay and not…”
Final question Steve, “How long did it take you to restore the CR250R?” Mr Parkins thinks for a moment: “I reckon six months from start to finish and I was finishing it off the night before bringing it to the show.” Six months?
“Yes, mind you I didn’t start it until I had everything and the frame was in the garage for about a year before the engine turned up, but yes, from deciding I had everything to firing it up for the first time was six months.” Well, that’s a bit of inspiration.
Read more News and Features in the Winter 2019 issue of Classic Dirt Bike – on sale now!


